
Boxes everywhere
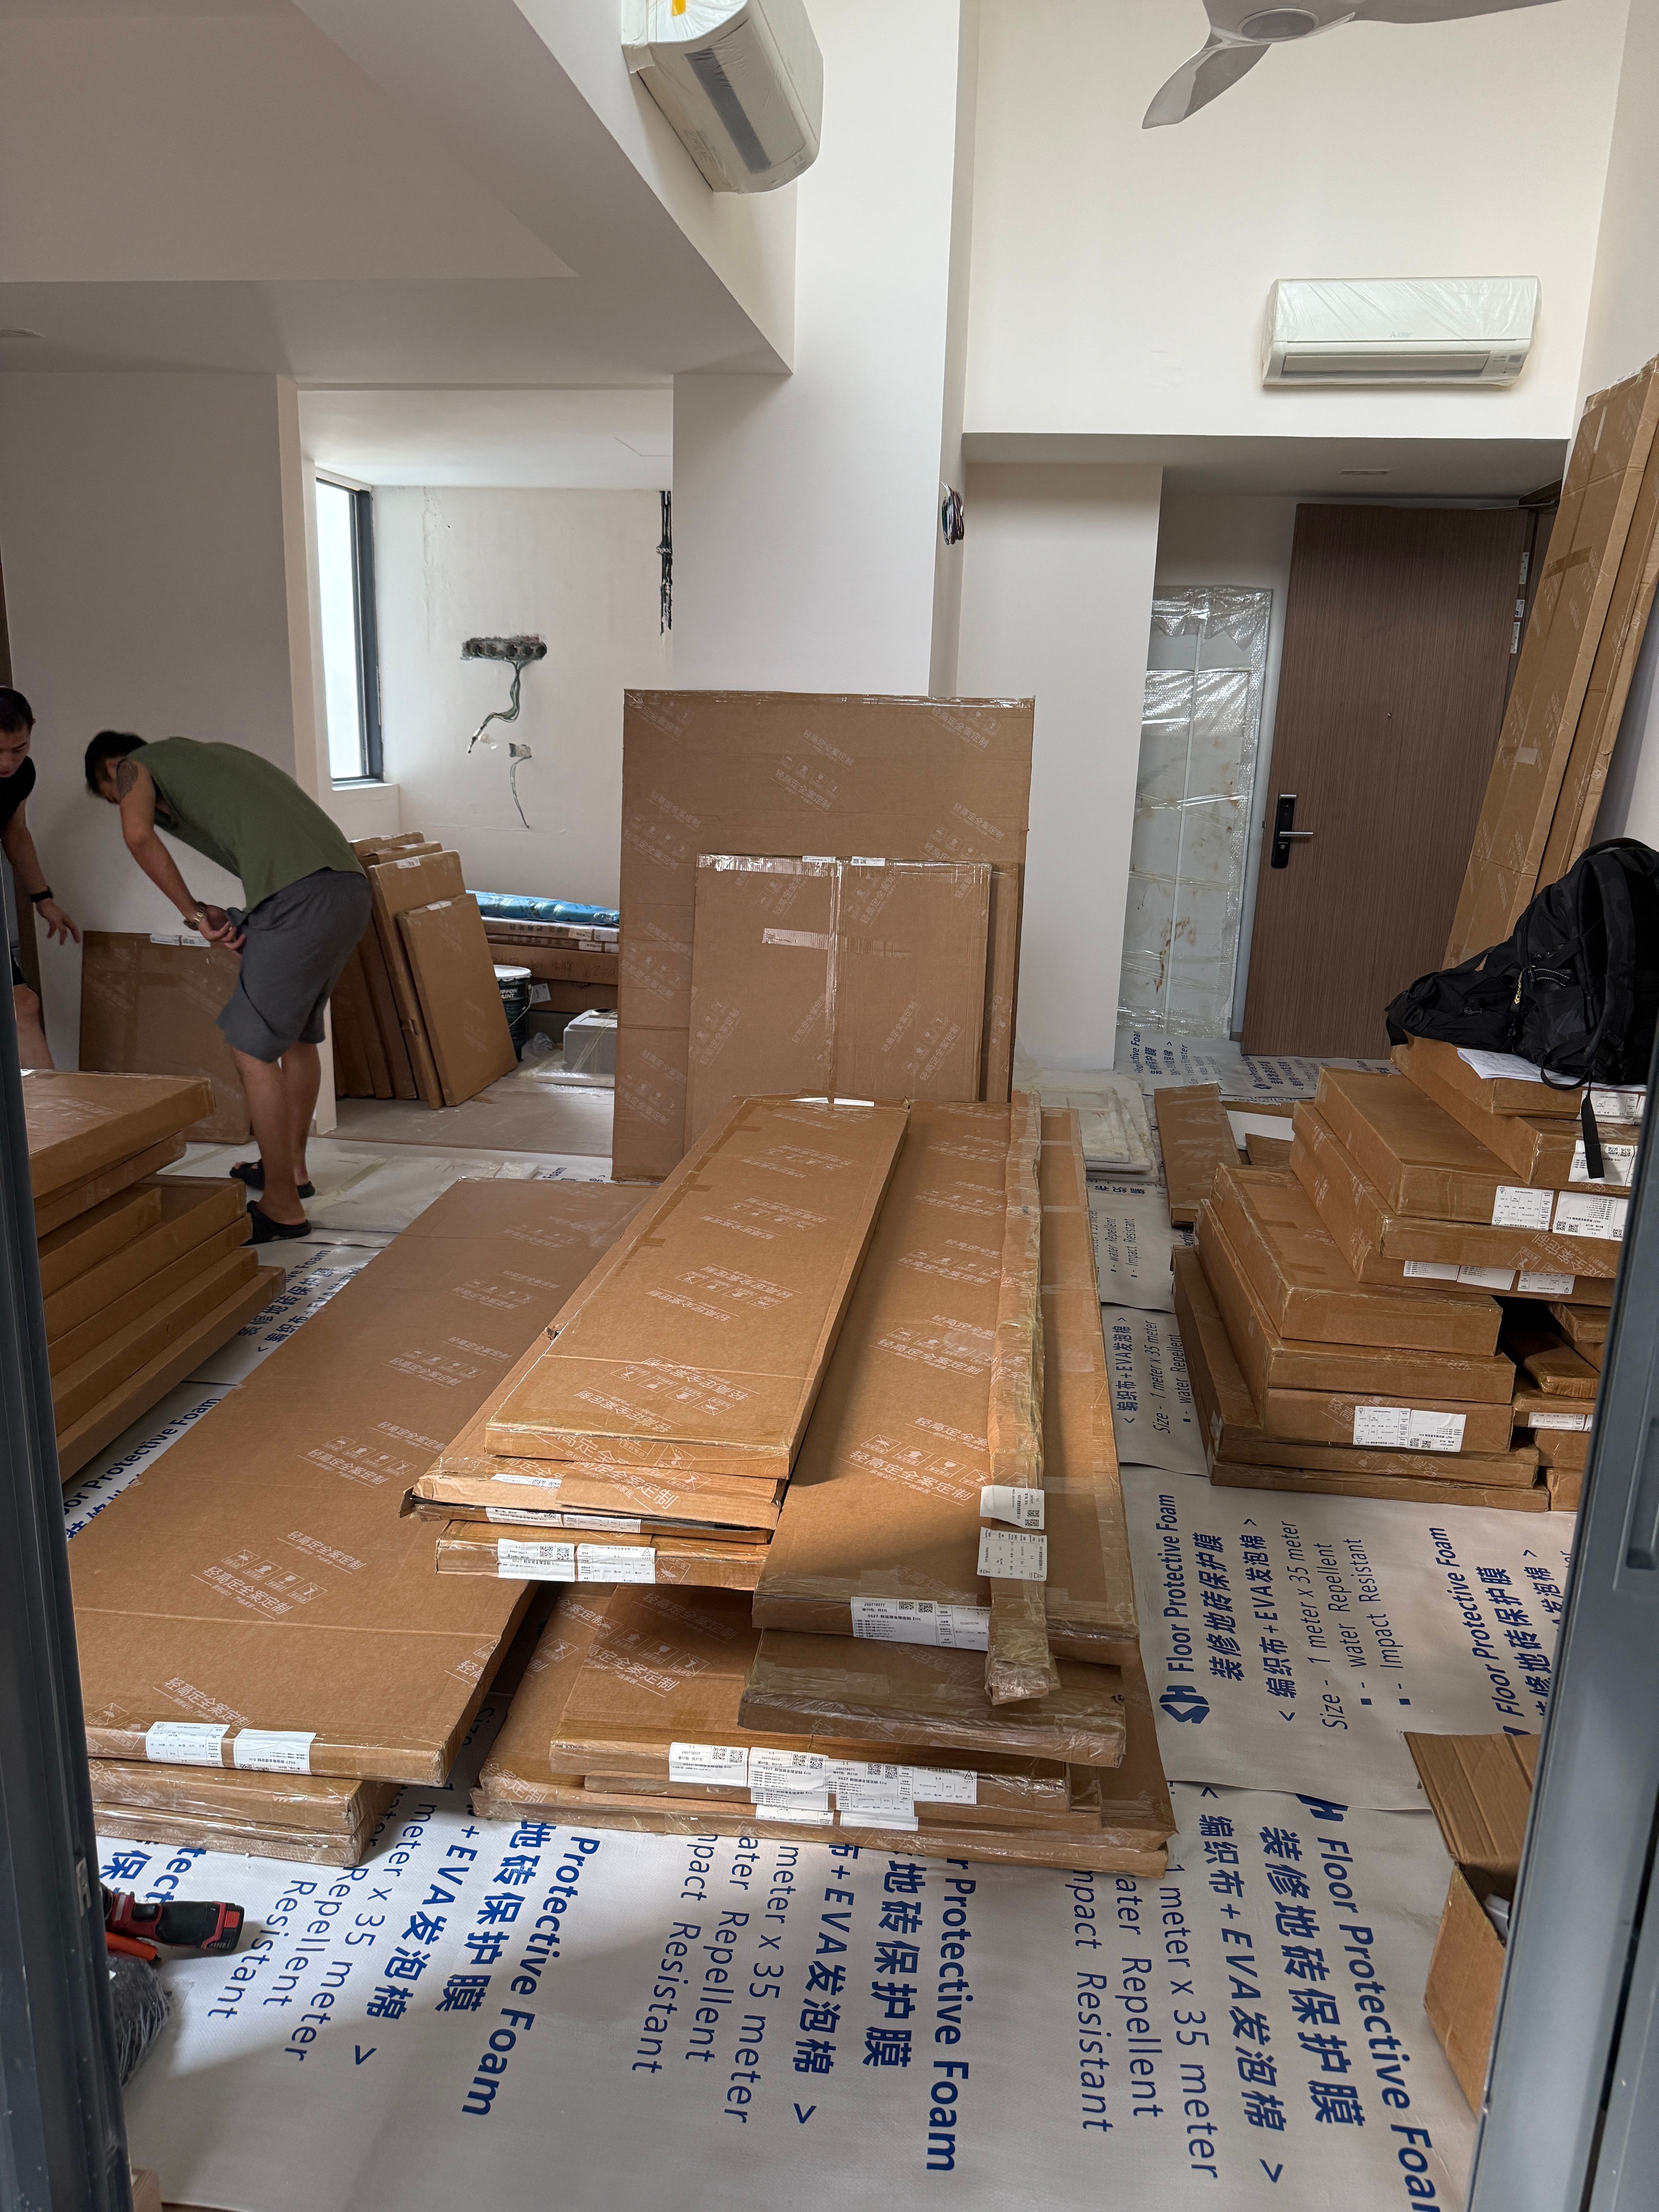
Same China carpentry order as the recent remodel — Jishang from Foshan. Delivery day is done; this is day one of install. I was not there to micromanage. Just to see how things go.
Floor protection is still down — the same stuff from the waiting post. Good. The room is packed with flat cardboard boxes. Some stacked, some leaned against the wall. Installers are starting to open things up.
I am not sure if it is the same team or different teams fixing up the house. People were talking while they worked. I mostly listened.
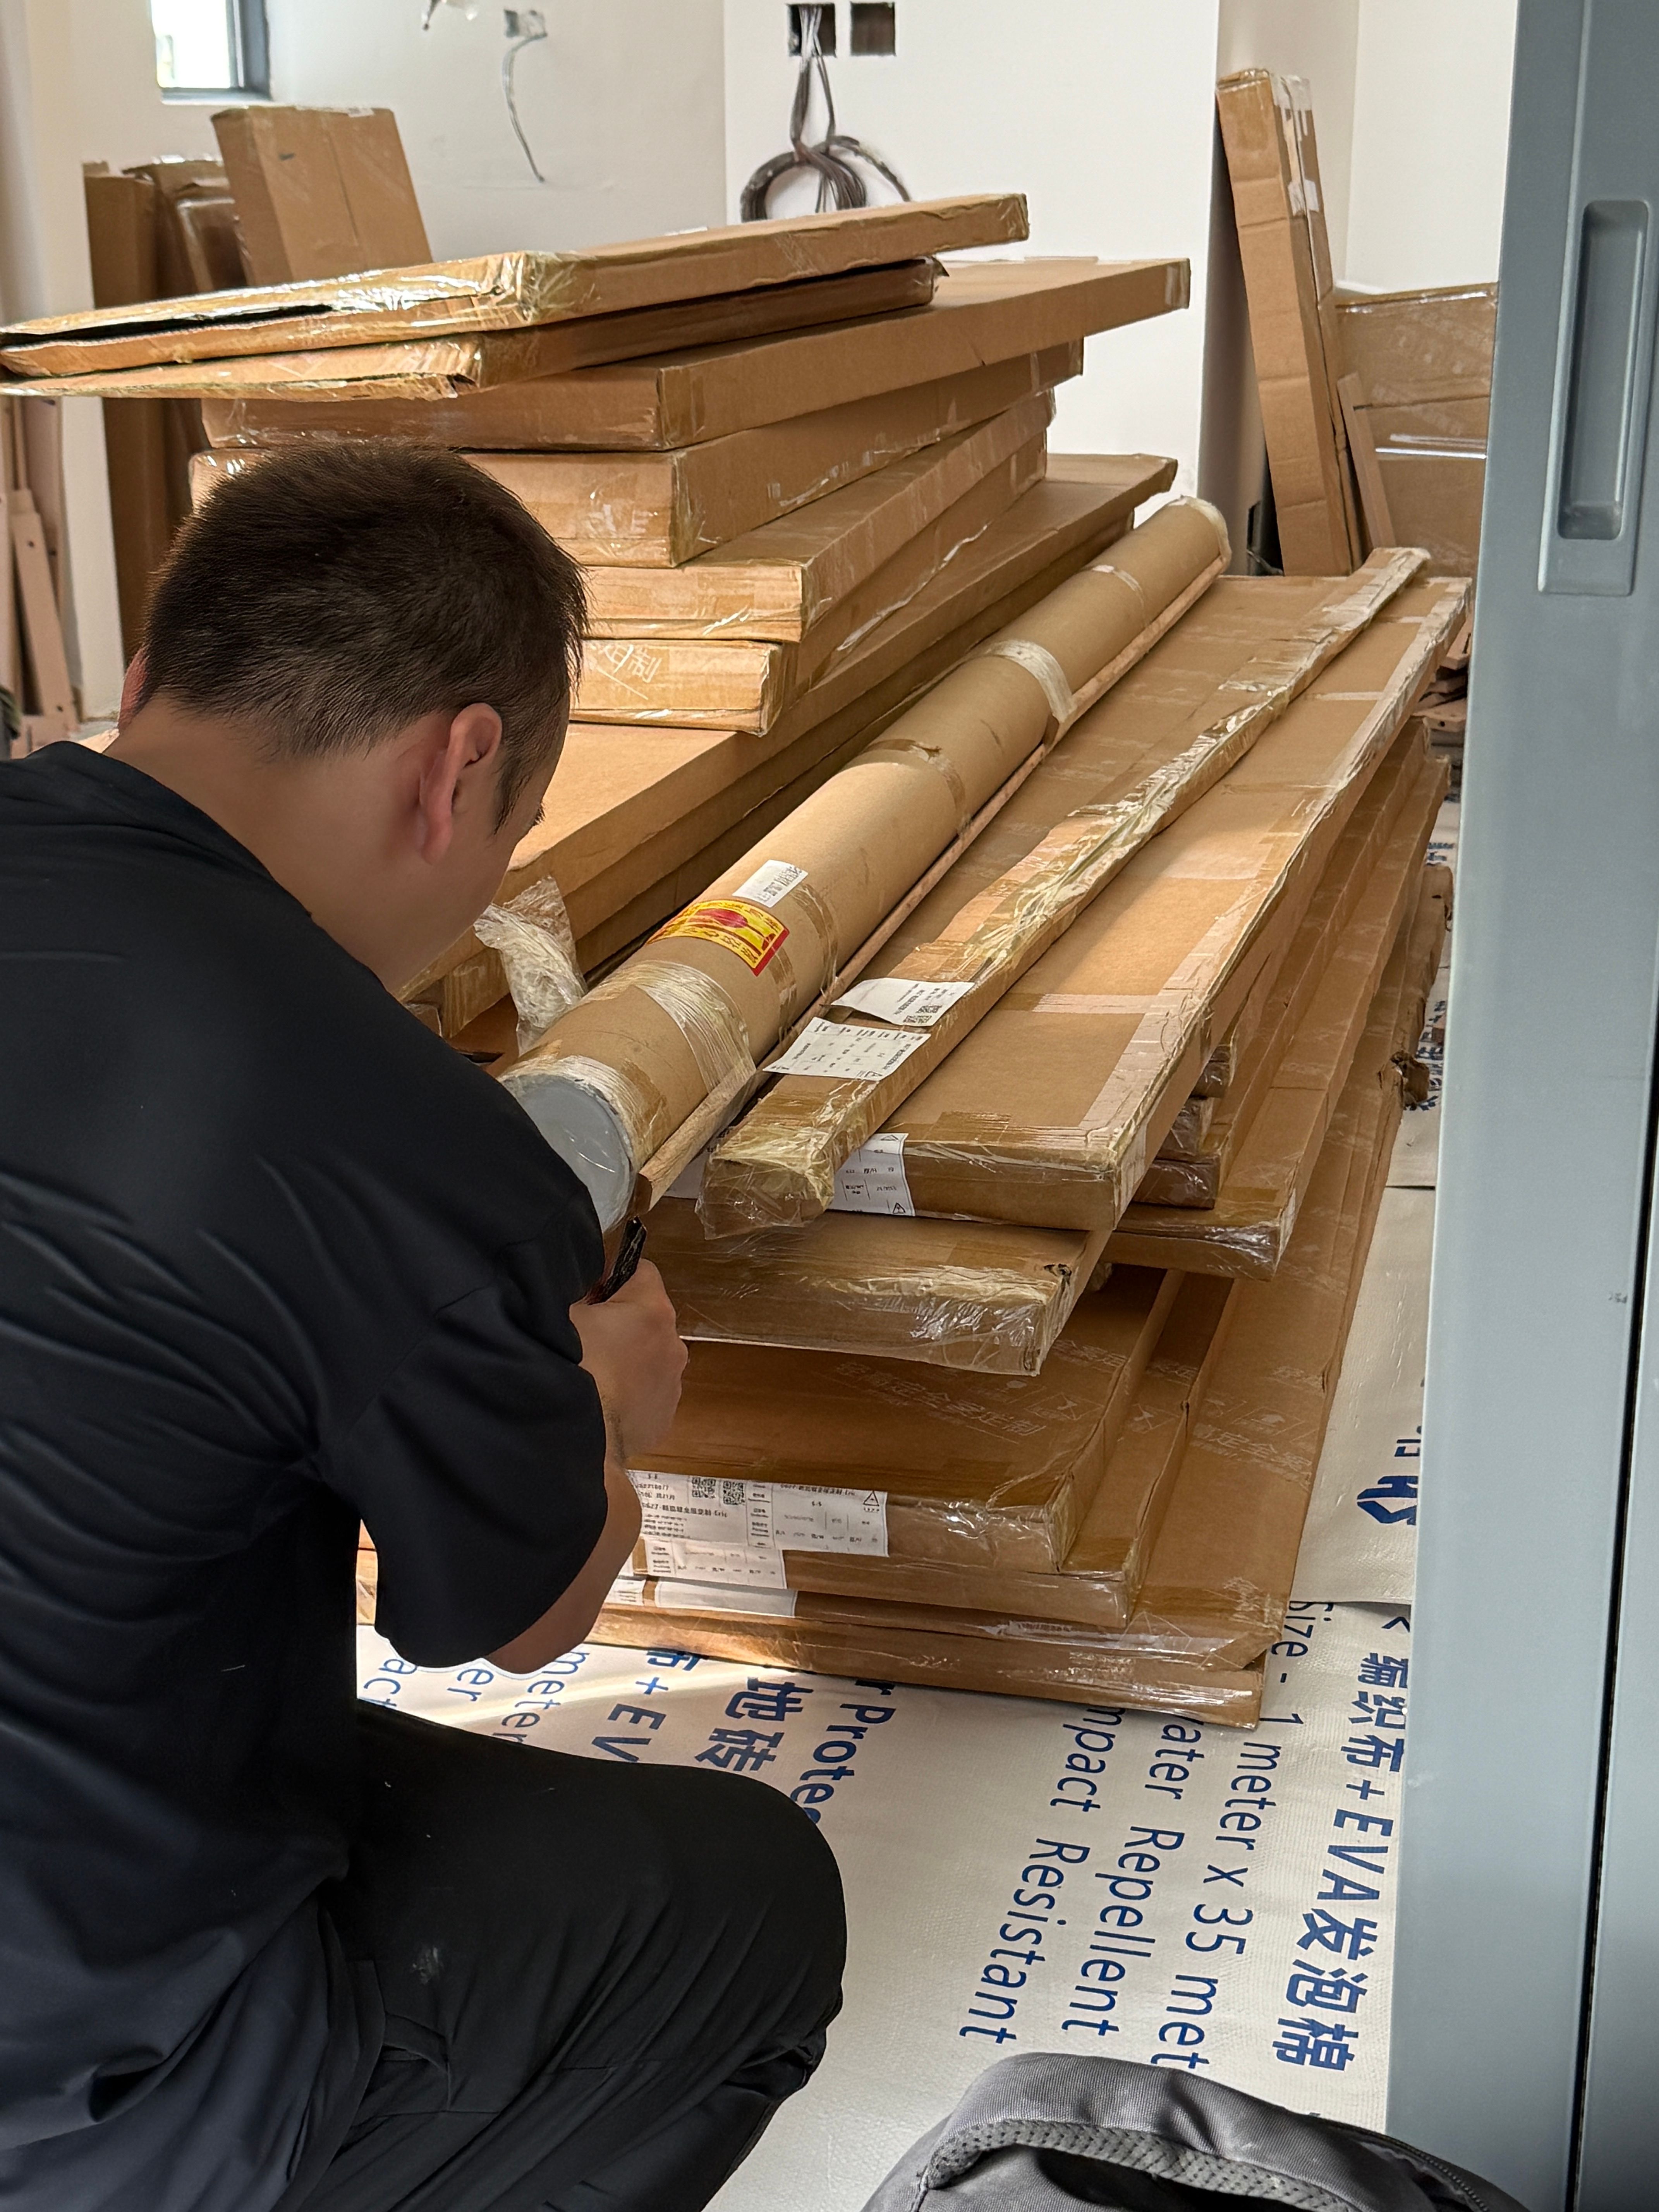
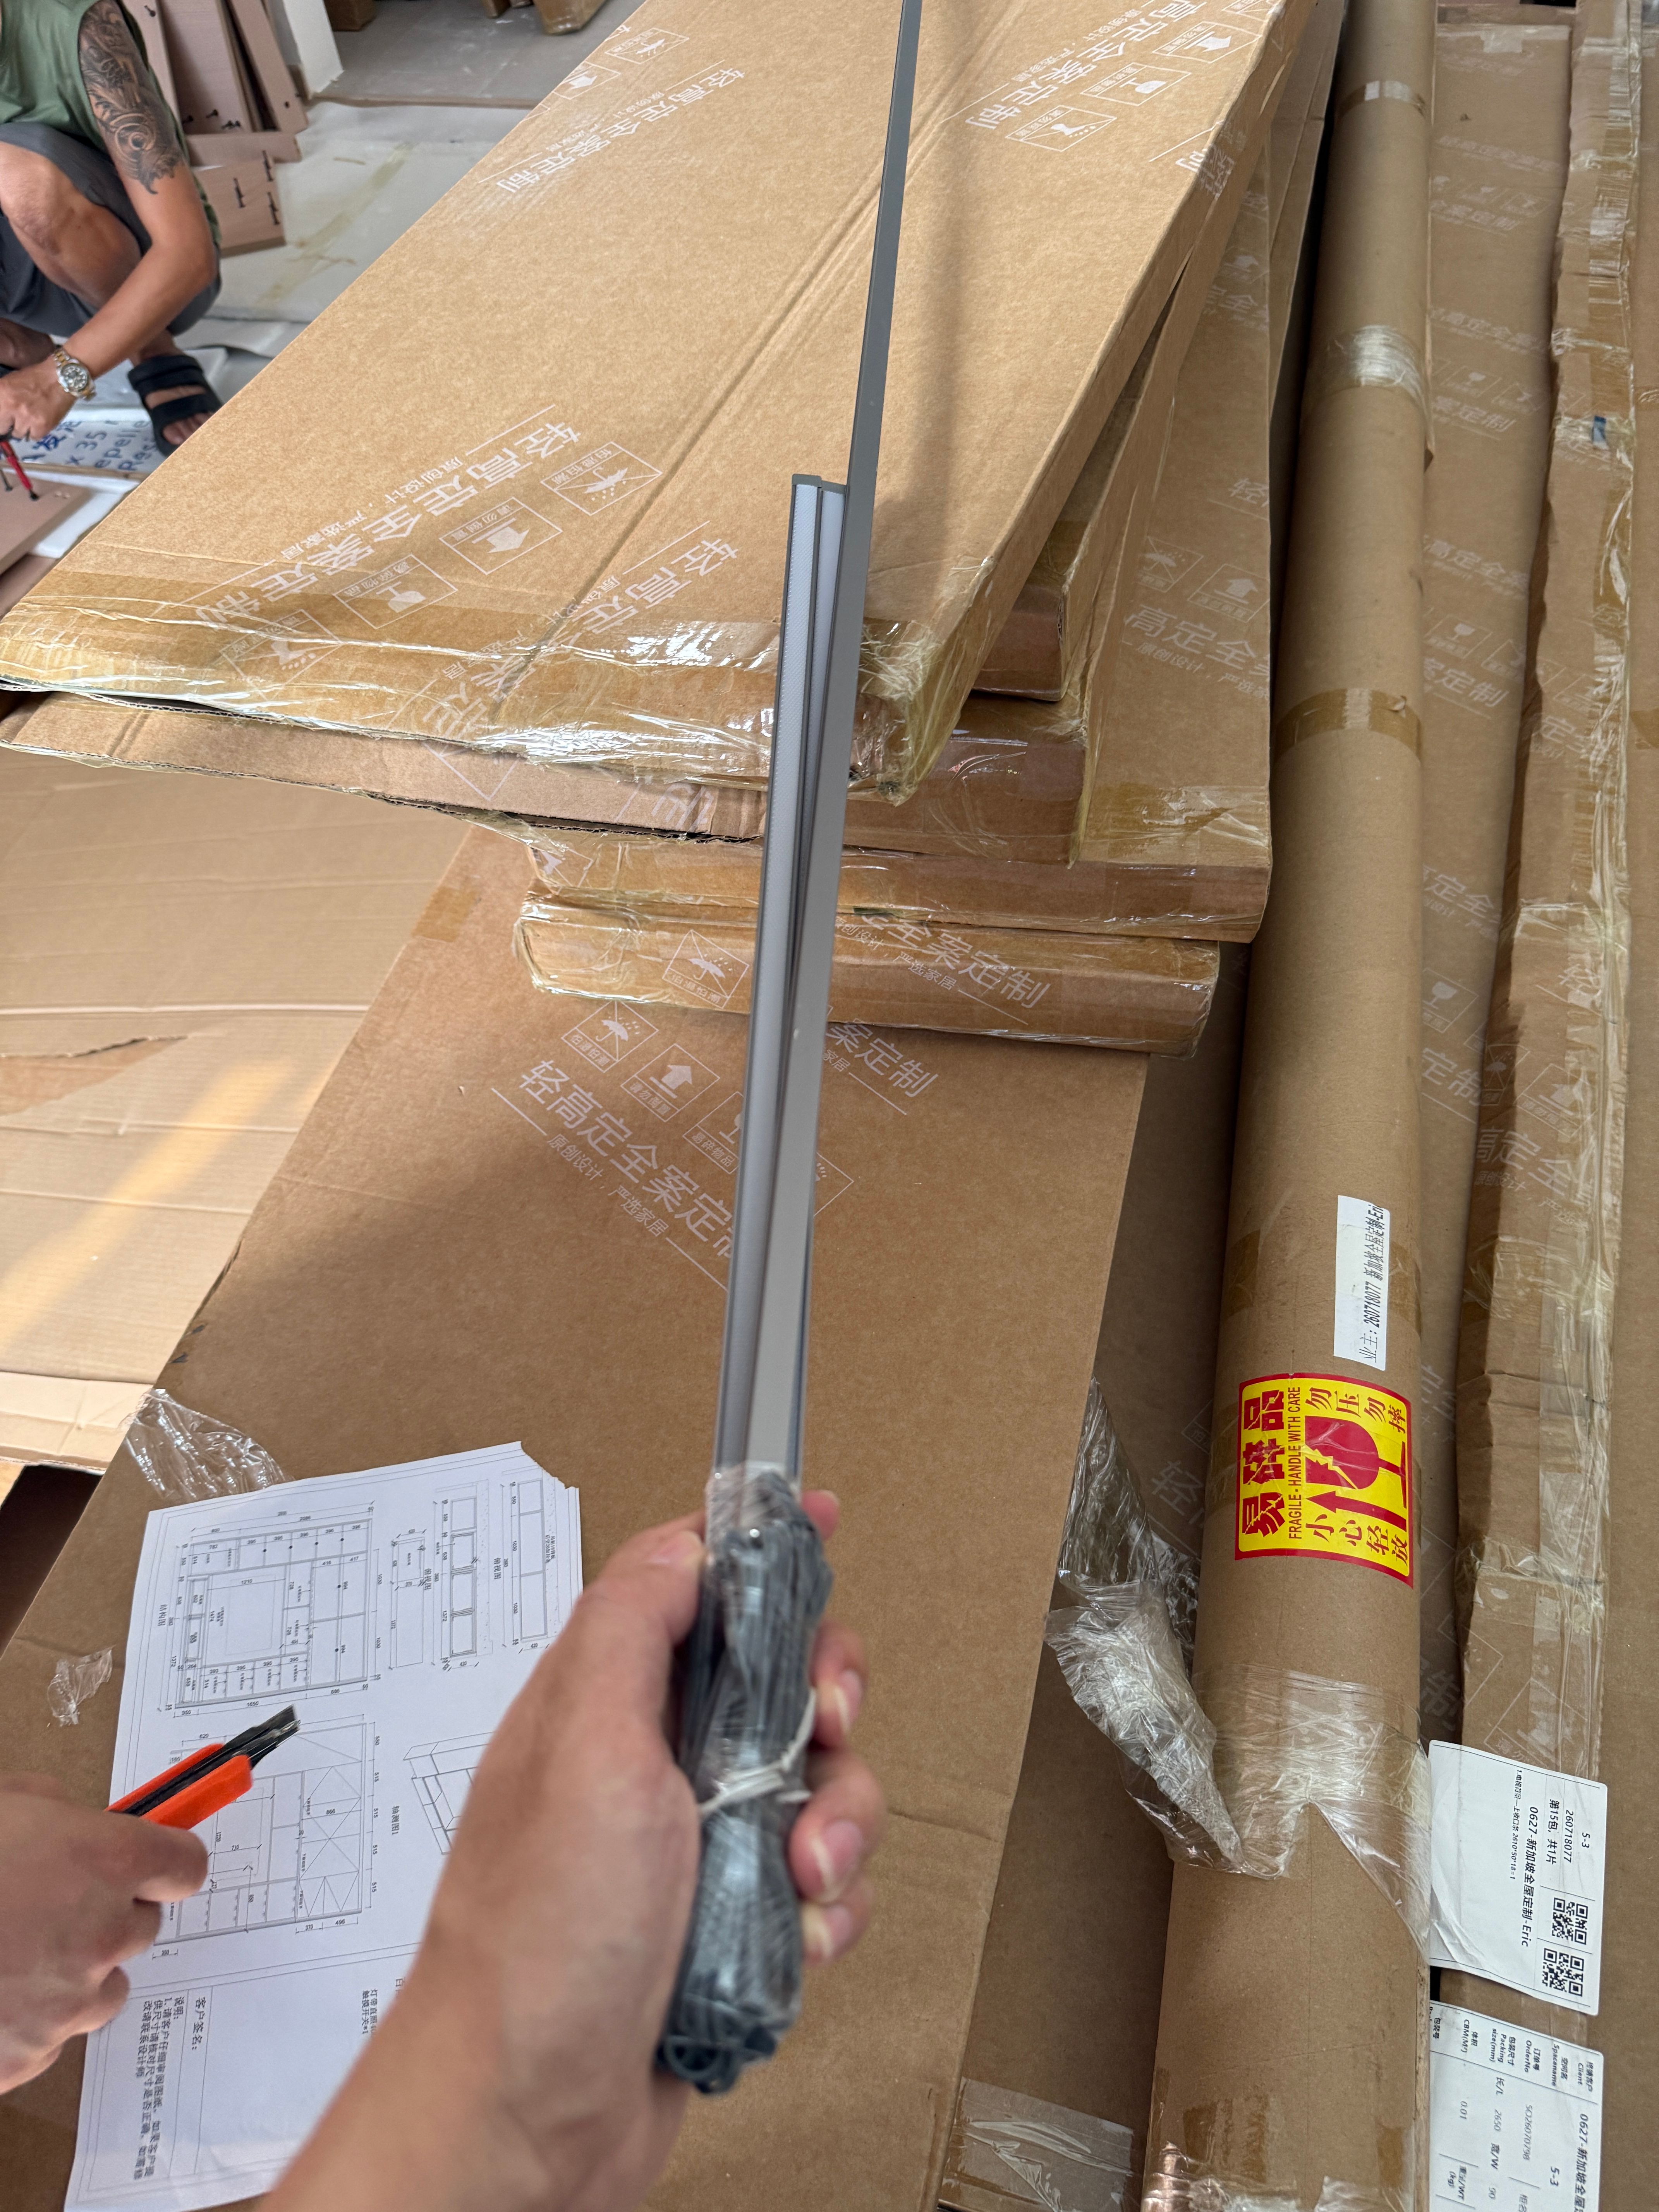
LED strip (and the brown tube)
One of the first things they opened was a long brown cardboard tube. That is the shipping casing for the LED strip — packed that way to prevent damage.
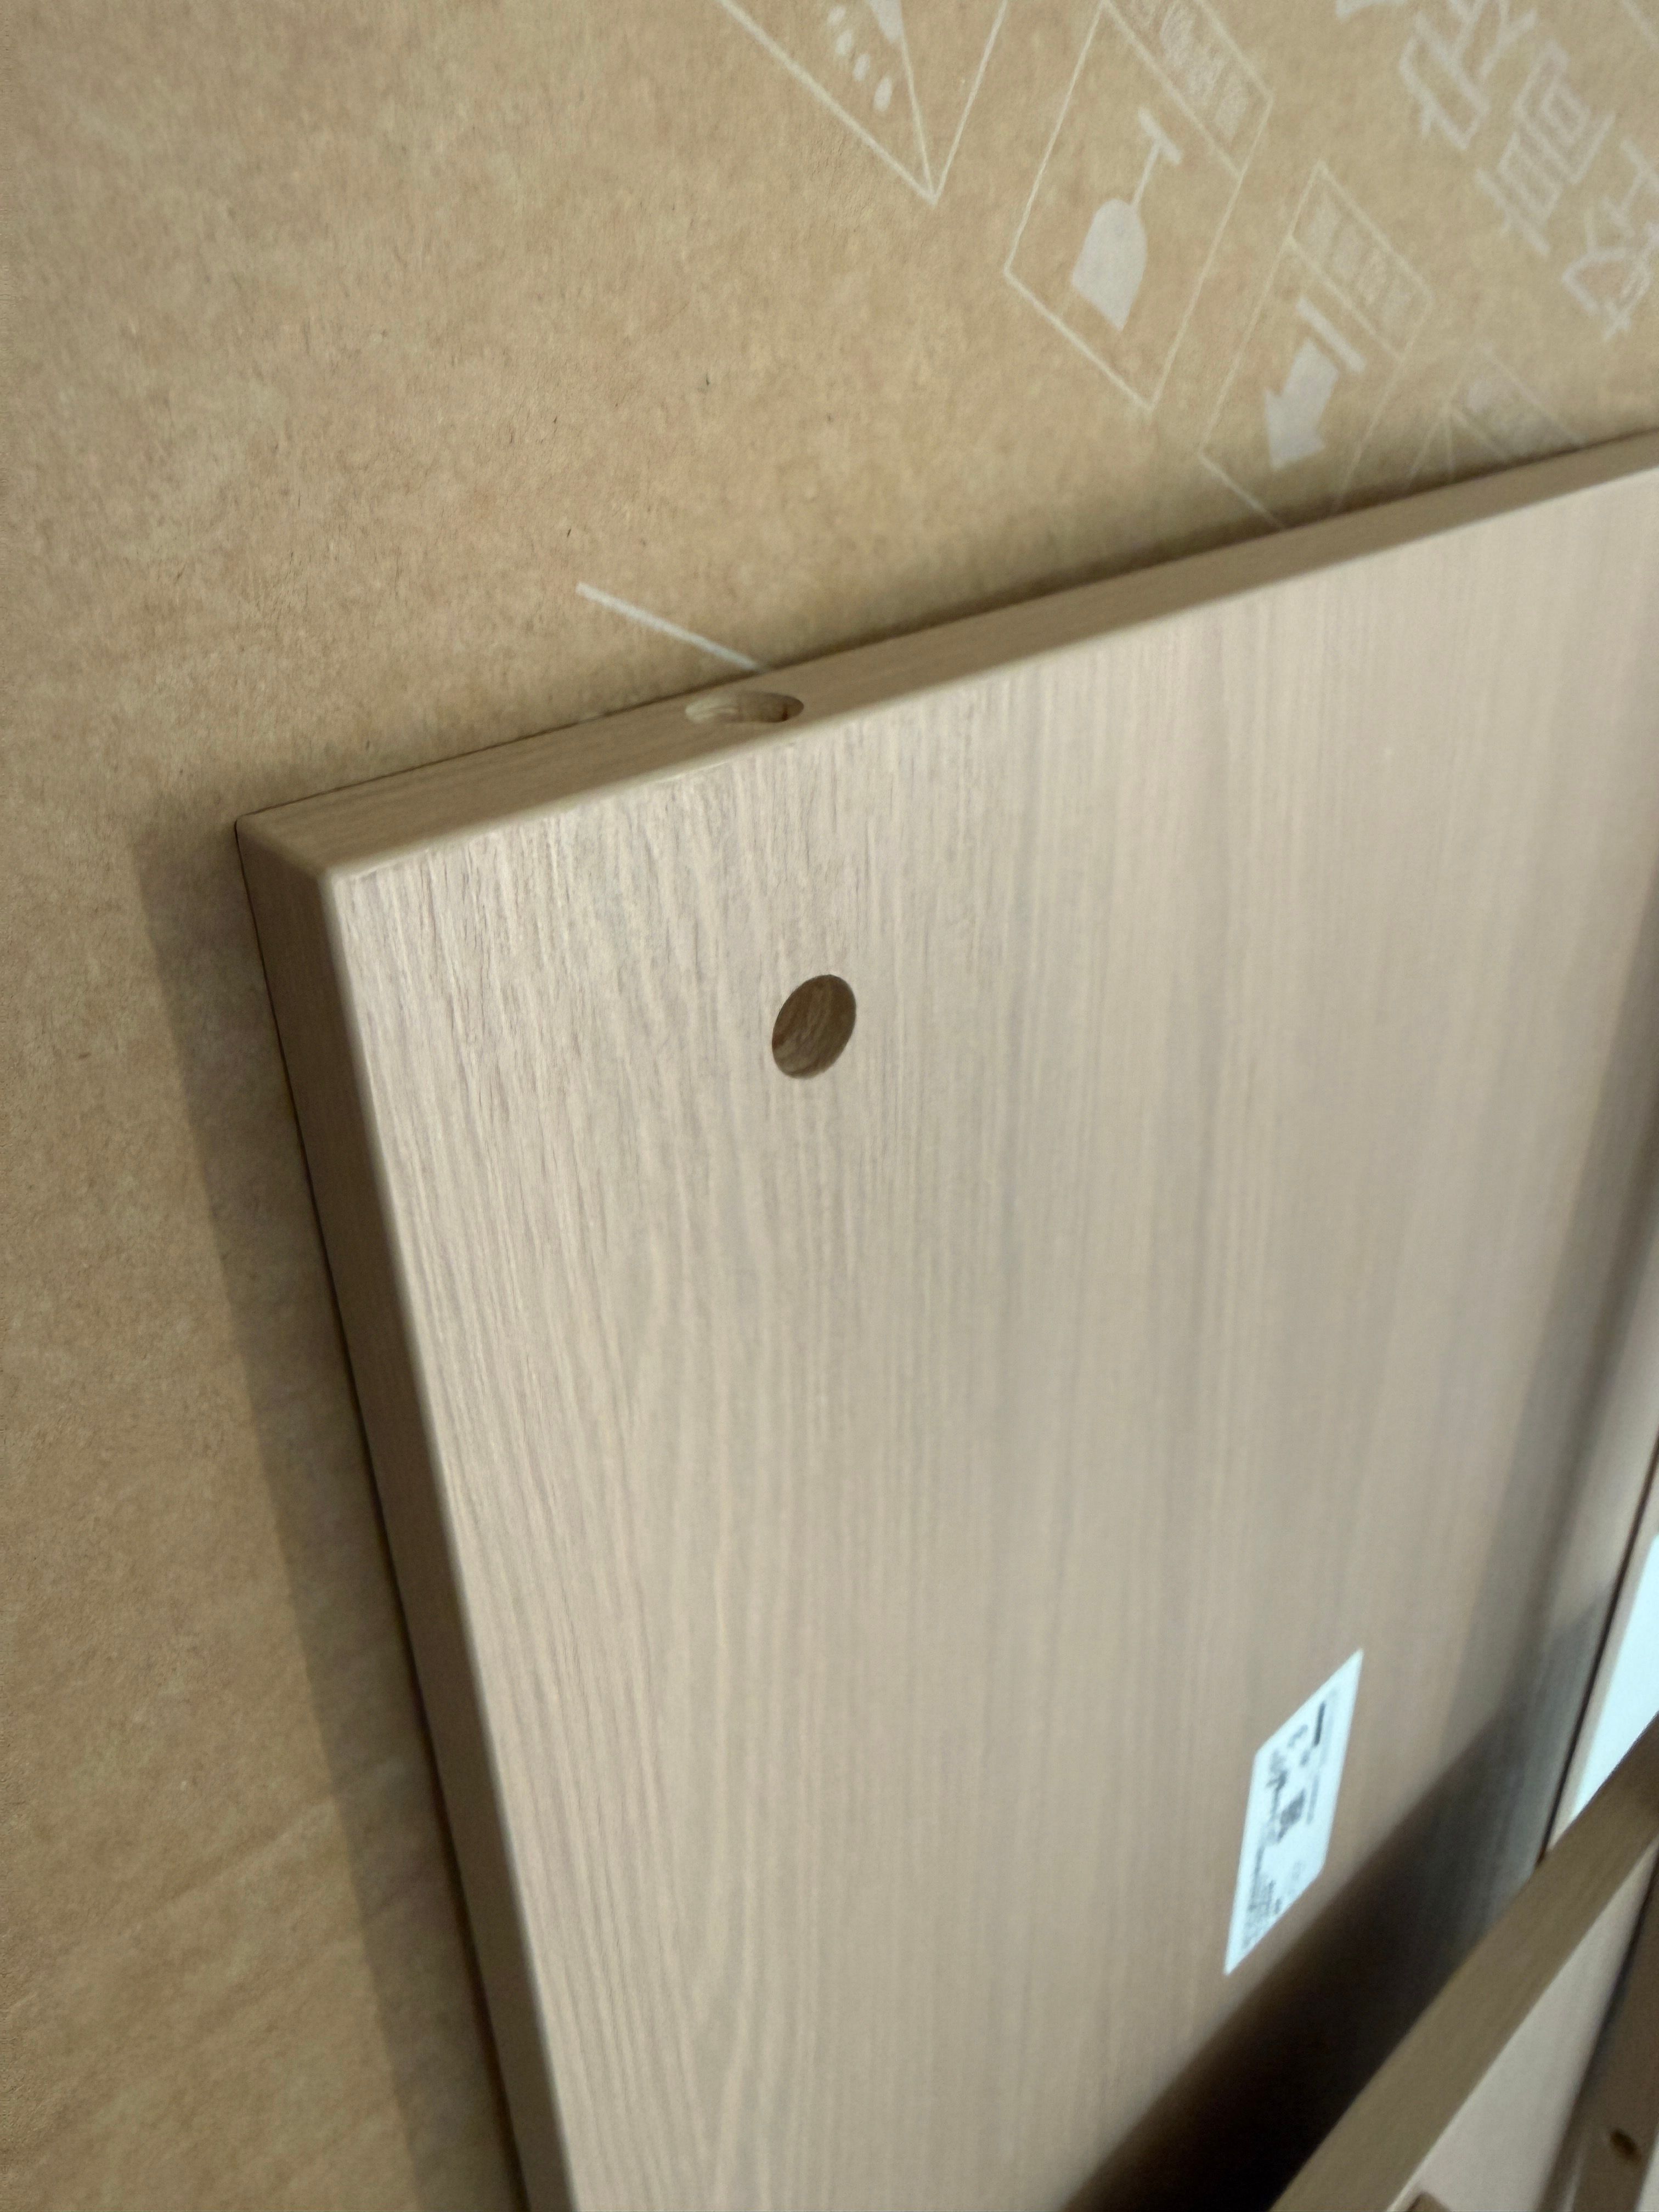
The wood up close
Quick quality check on a cabinet panel before it disappears into a carcass. Light wood grain, edge banding looks clean, pre-drilled holes where they should be. This is the board quality I wanted to see with my own eyes.
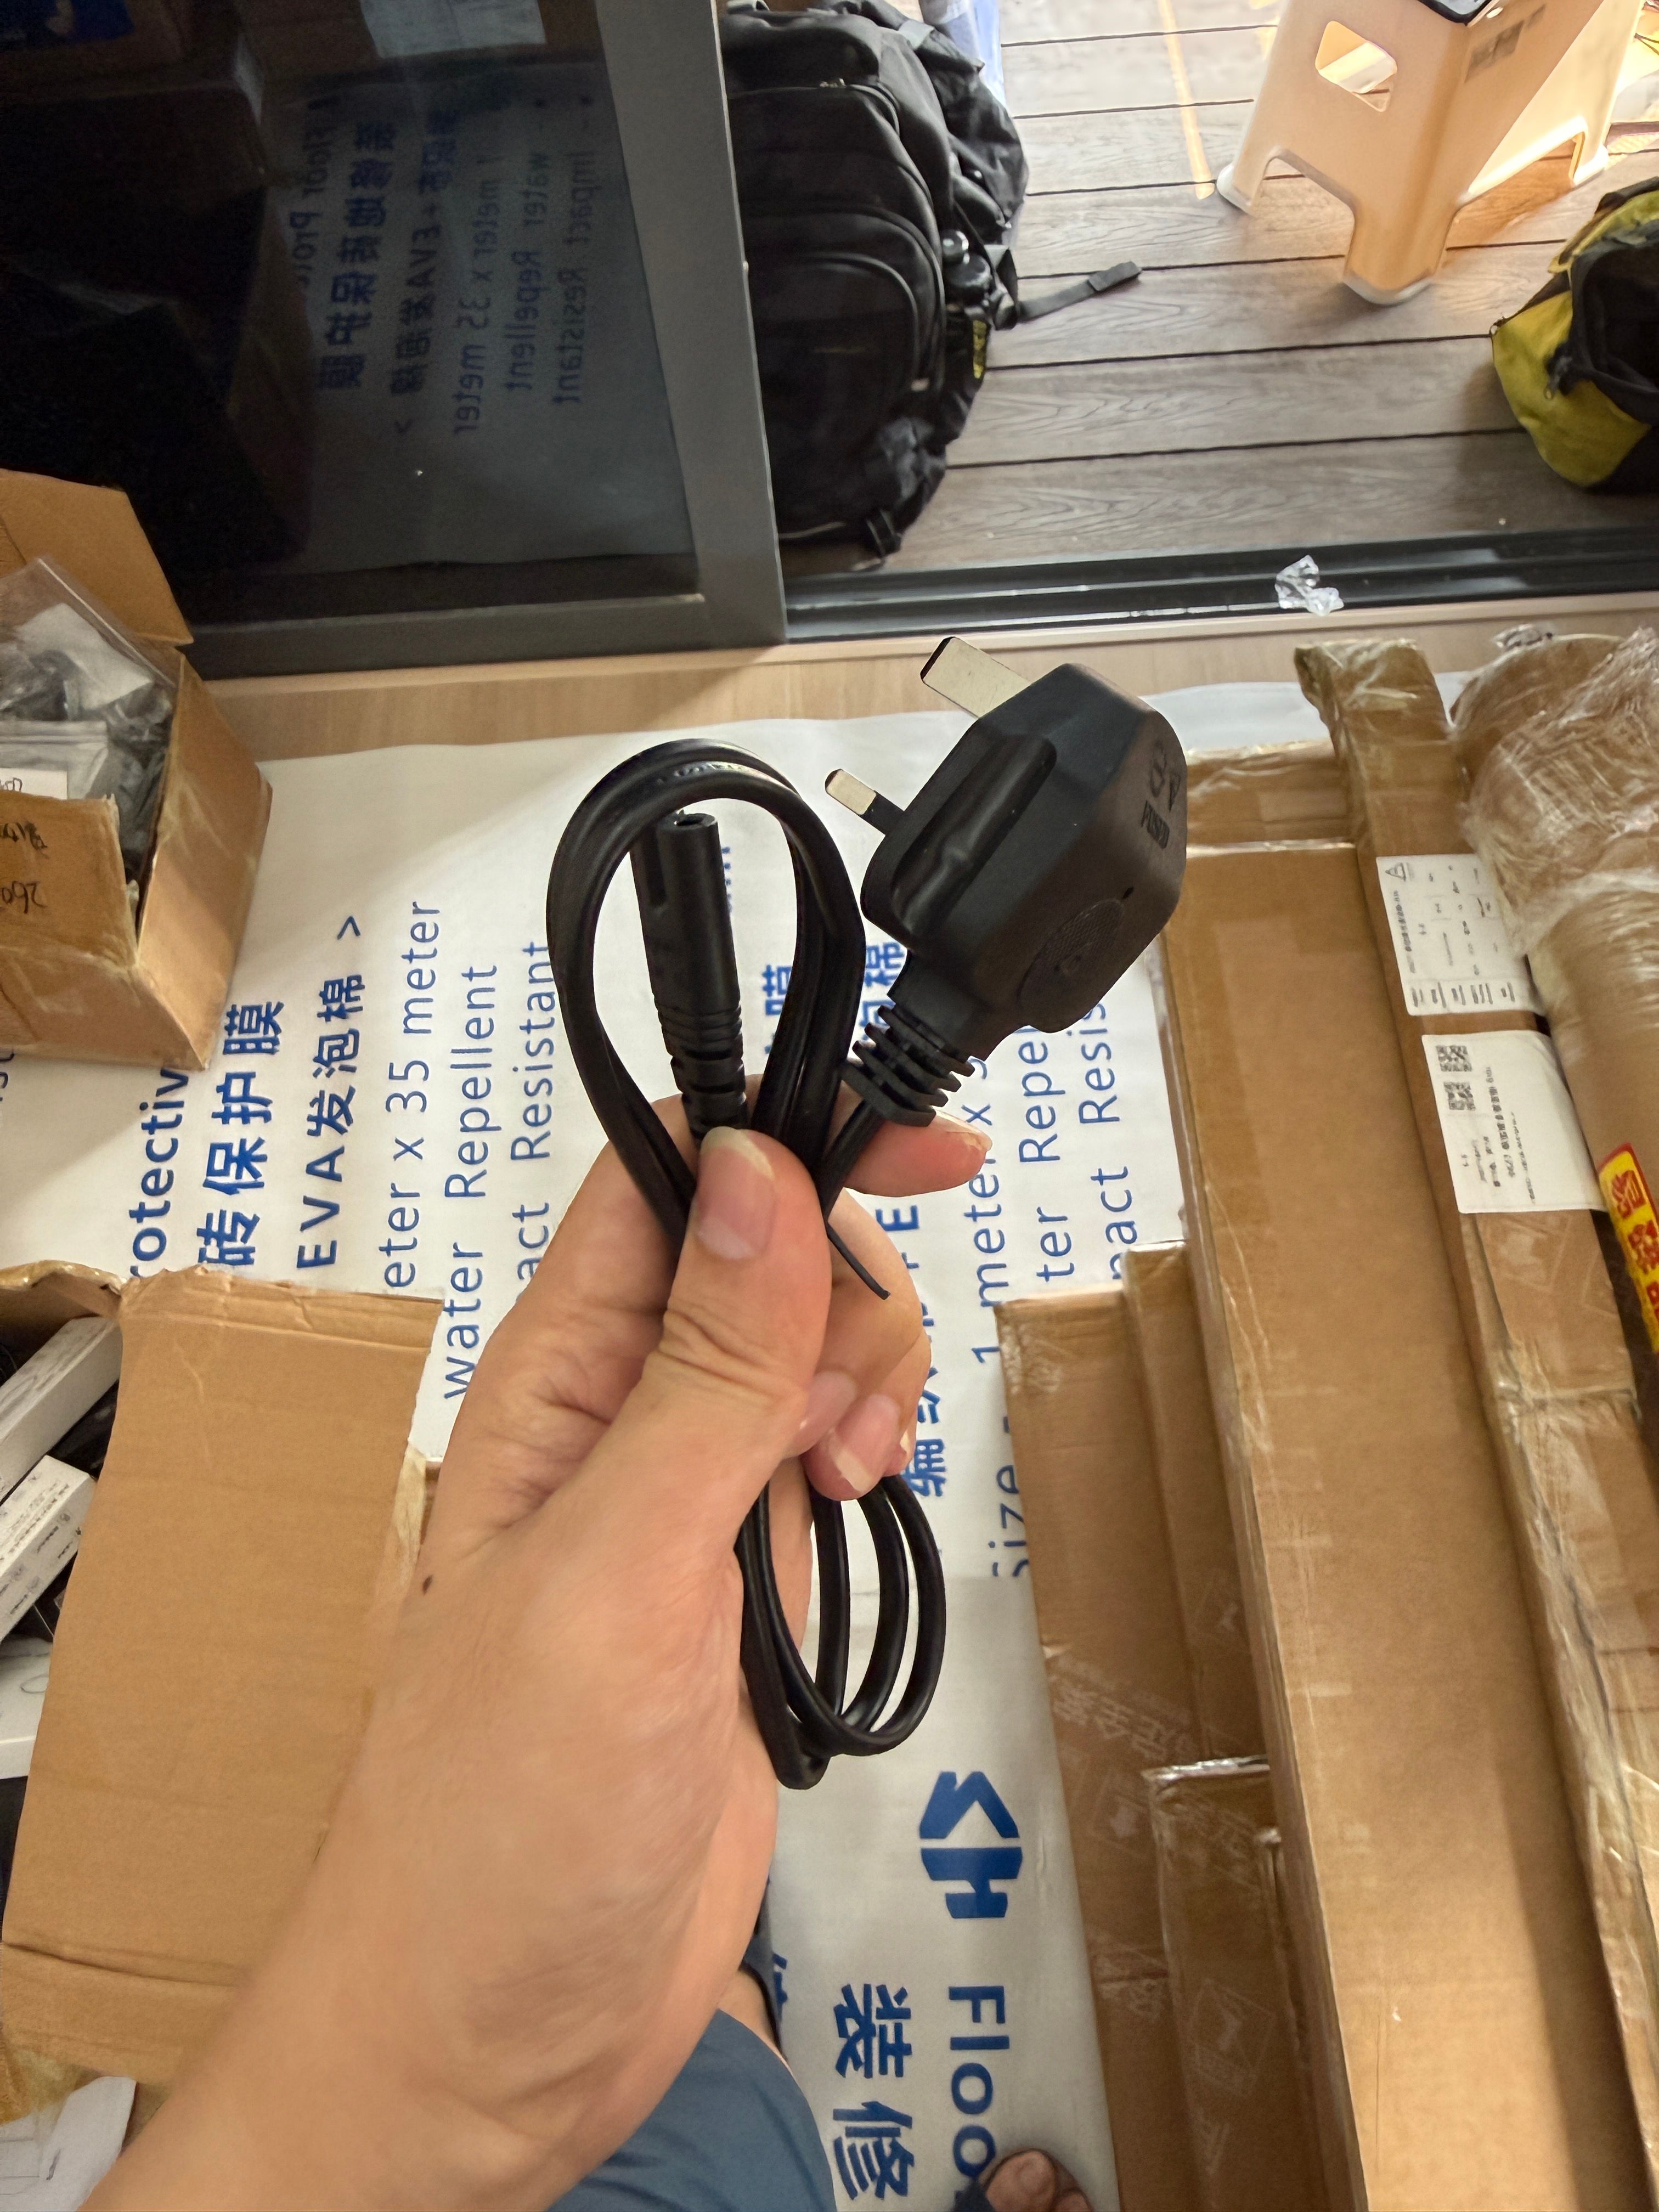
Singapore plug — not the usual China two-pin
This was the funny bit. One of the installers exclaimed that the manufacturer actually shipped the Singapore plug. I asked what they meant.
They said it is not normal. Other houses they install usually ship with a China two-pin plug. Shipping the Type G version goes beyond the usual scope.
Jishang ships the Singapore version. In the box I can still see the China plug — but they also send an SG plug, knowing locals need Type G. A lot of people convert themselves. A friend did. I would not mess with electricity.
Not sure if this applies to all Jishang customers. Hopefully yes. I am glad I got it.
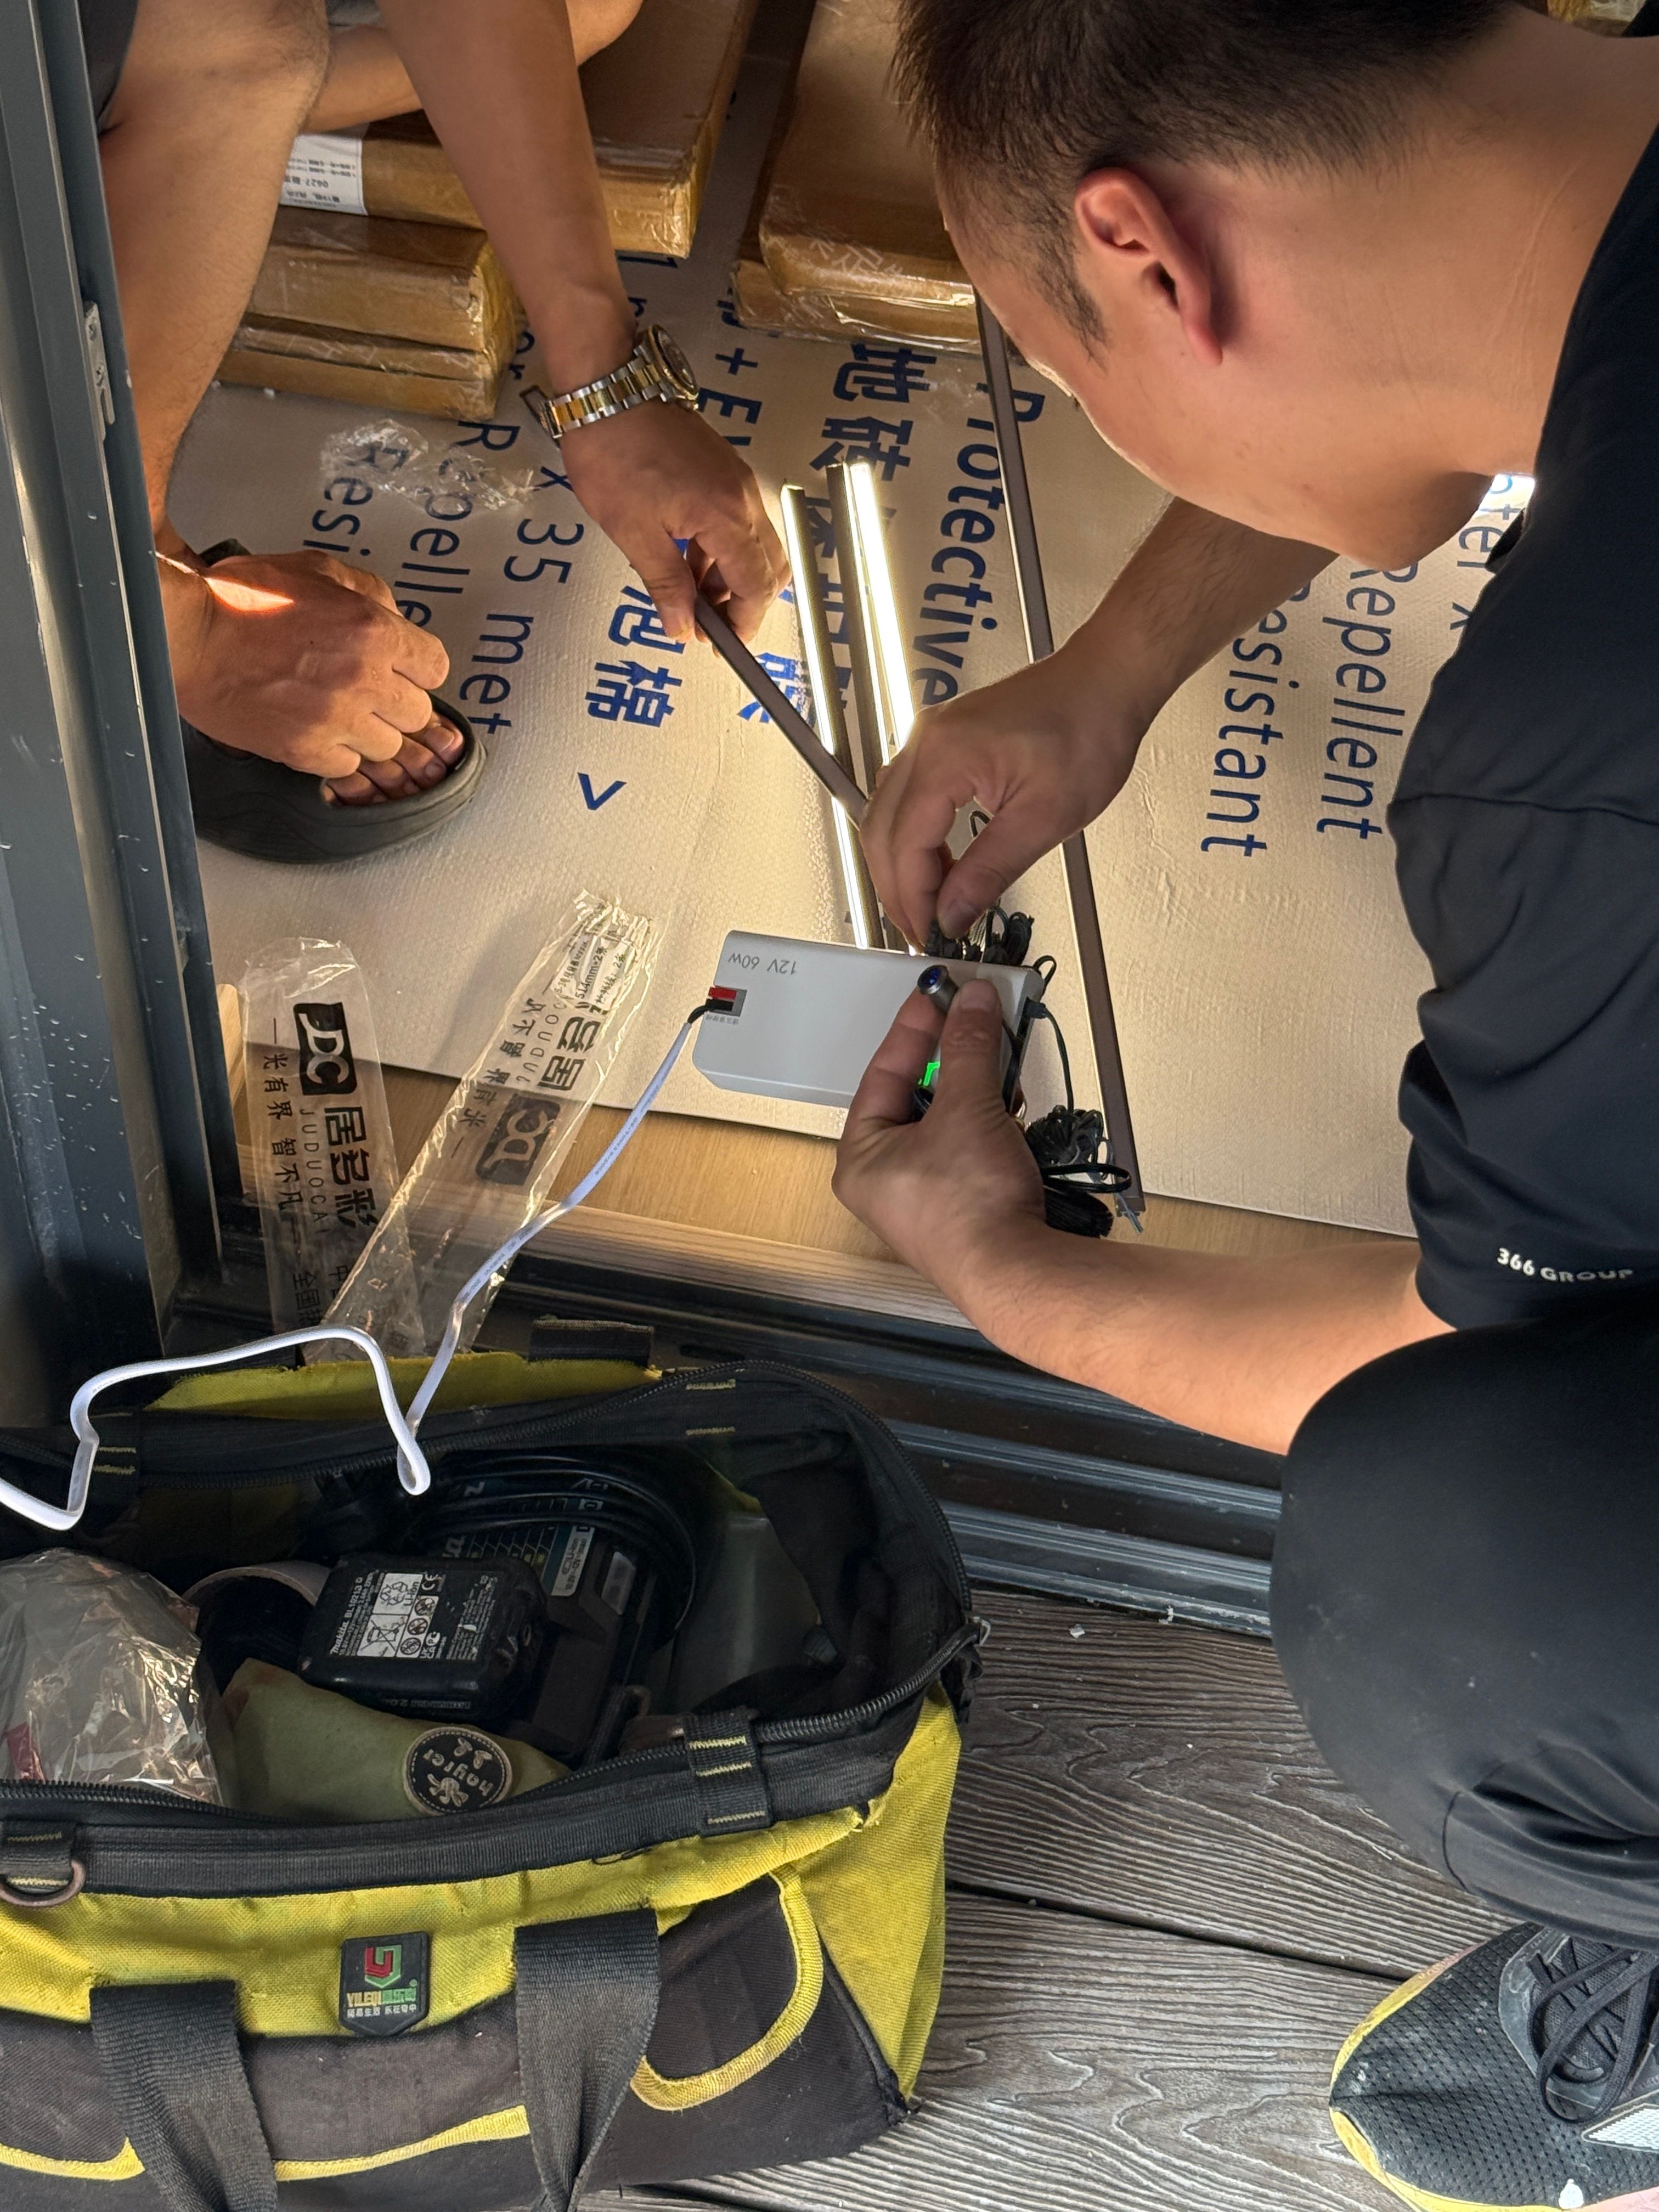
Testing the LEDs before they go in
Before mounting the LED strip to the carpentry, they tested it. Powered up with a 12V 60W driver — lit, working. Better to find out on the floor than after it is buried in a cabinet.
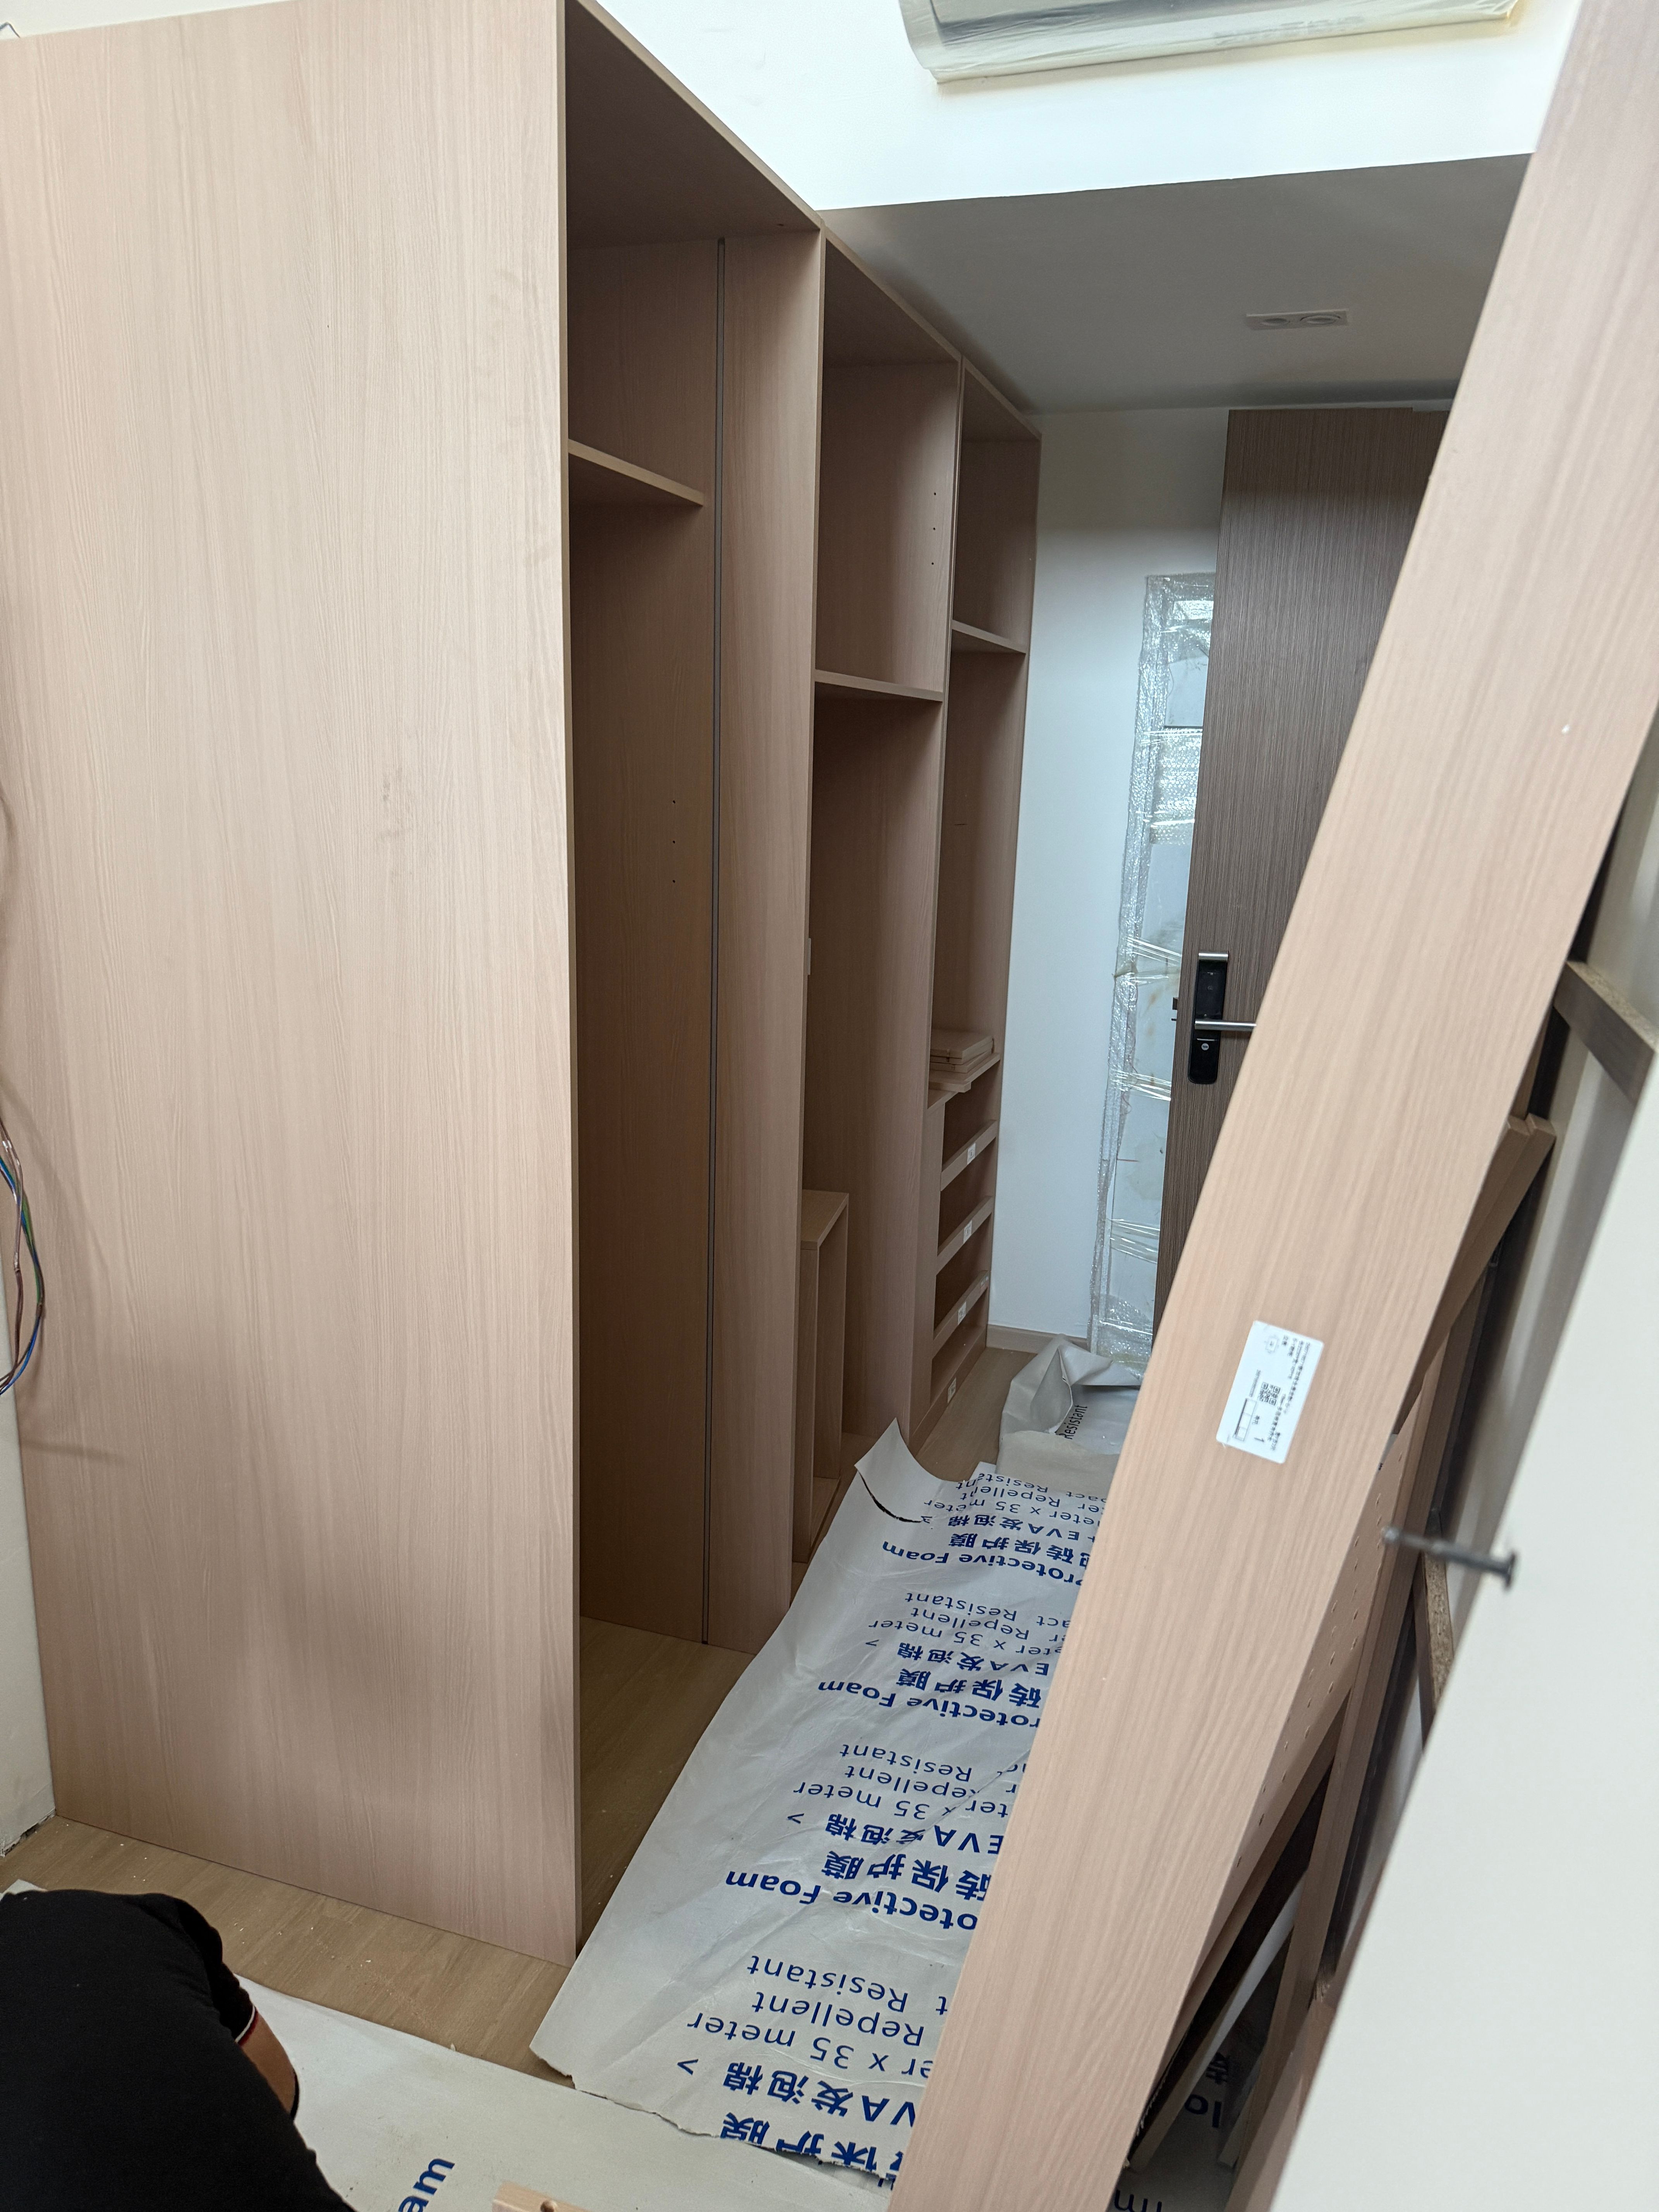
Storage behind the door
They started assembling a tall light-wood storage unit behind a door — the kind of behind-door storage you see a lot on Rednote. This is that idea here, going into the recent remodel.

Storage and shoe area
Near the entrance, more carcass work — open storage with a shoe area at the bottom (narrow pull-outs). Still mid-assembly. Entrance door in the frame.
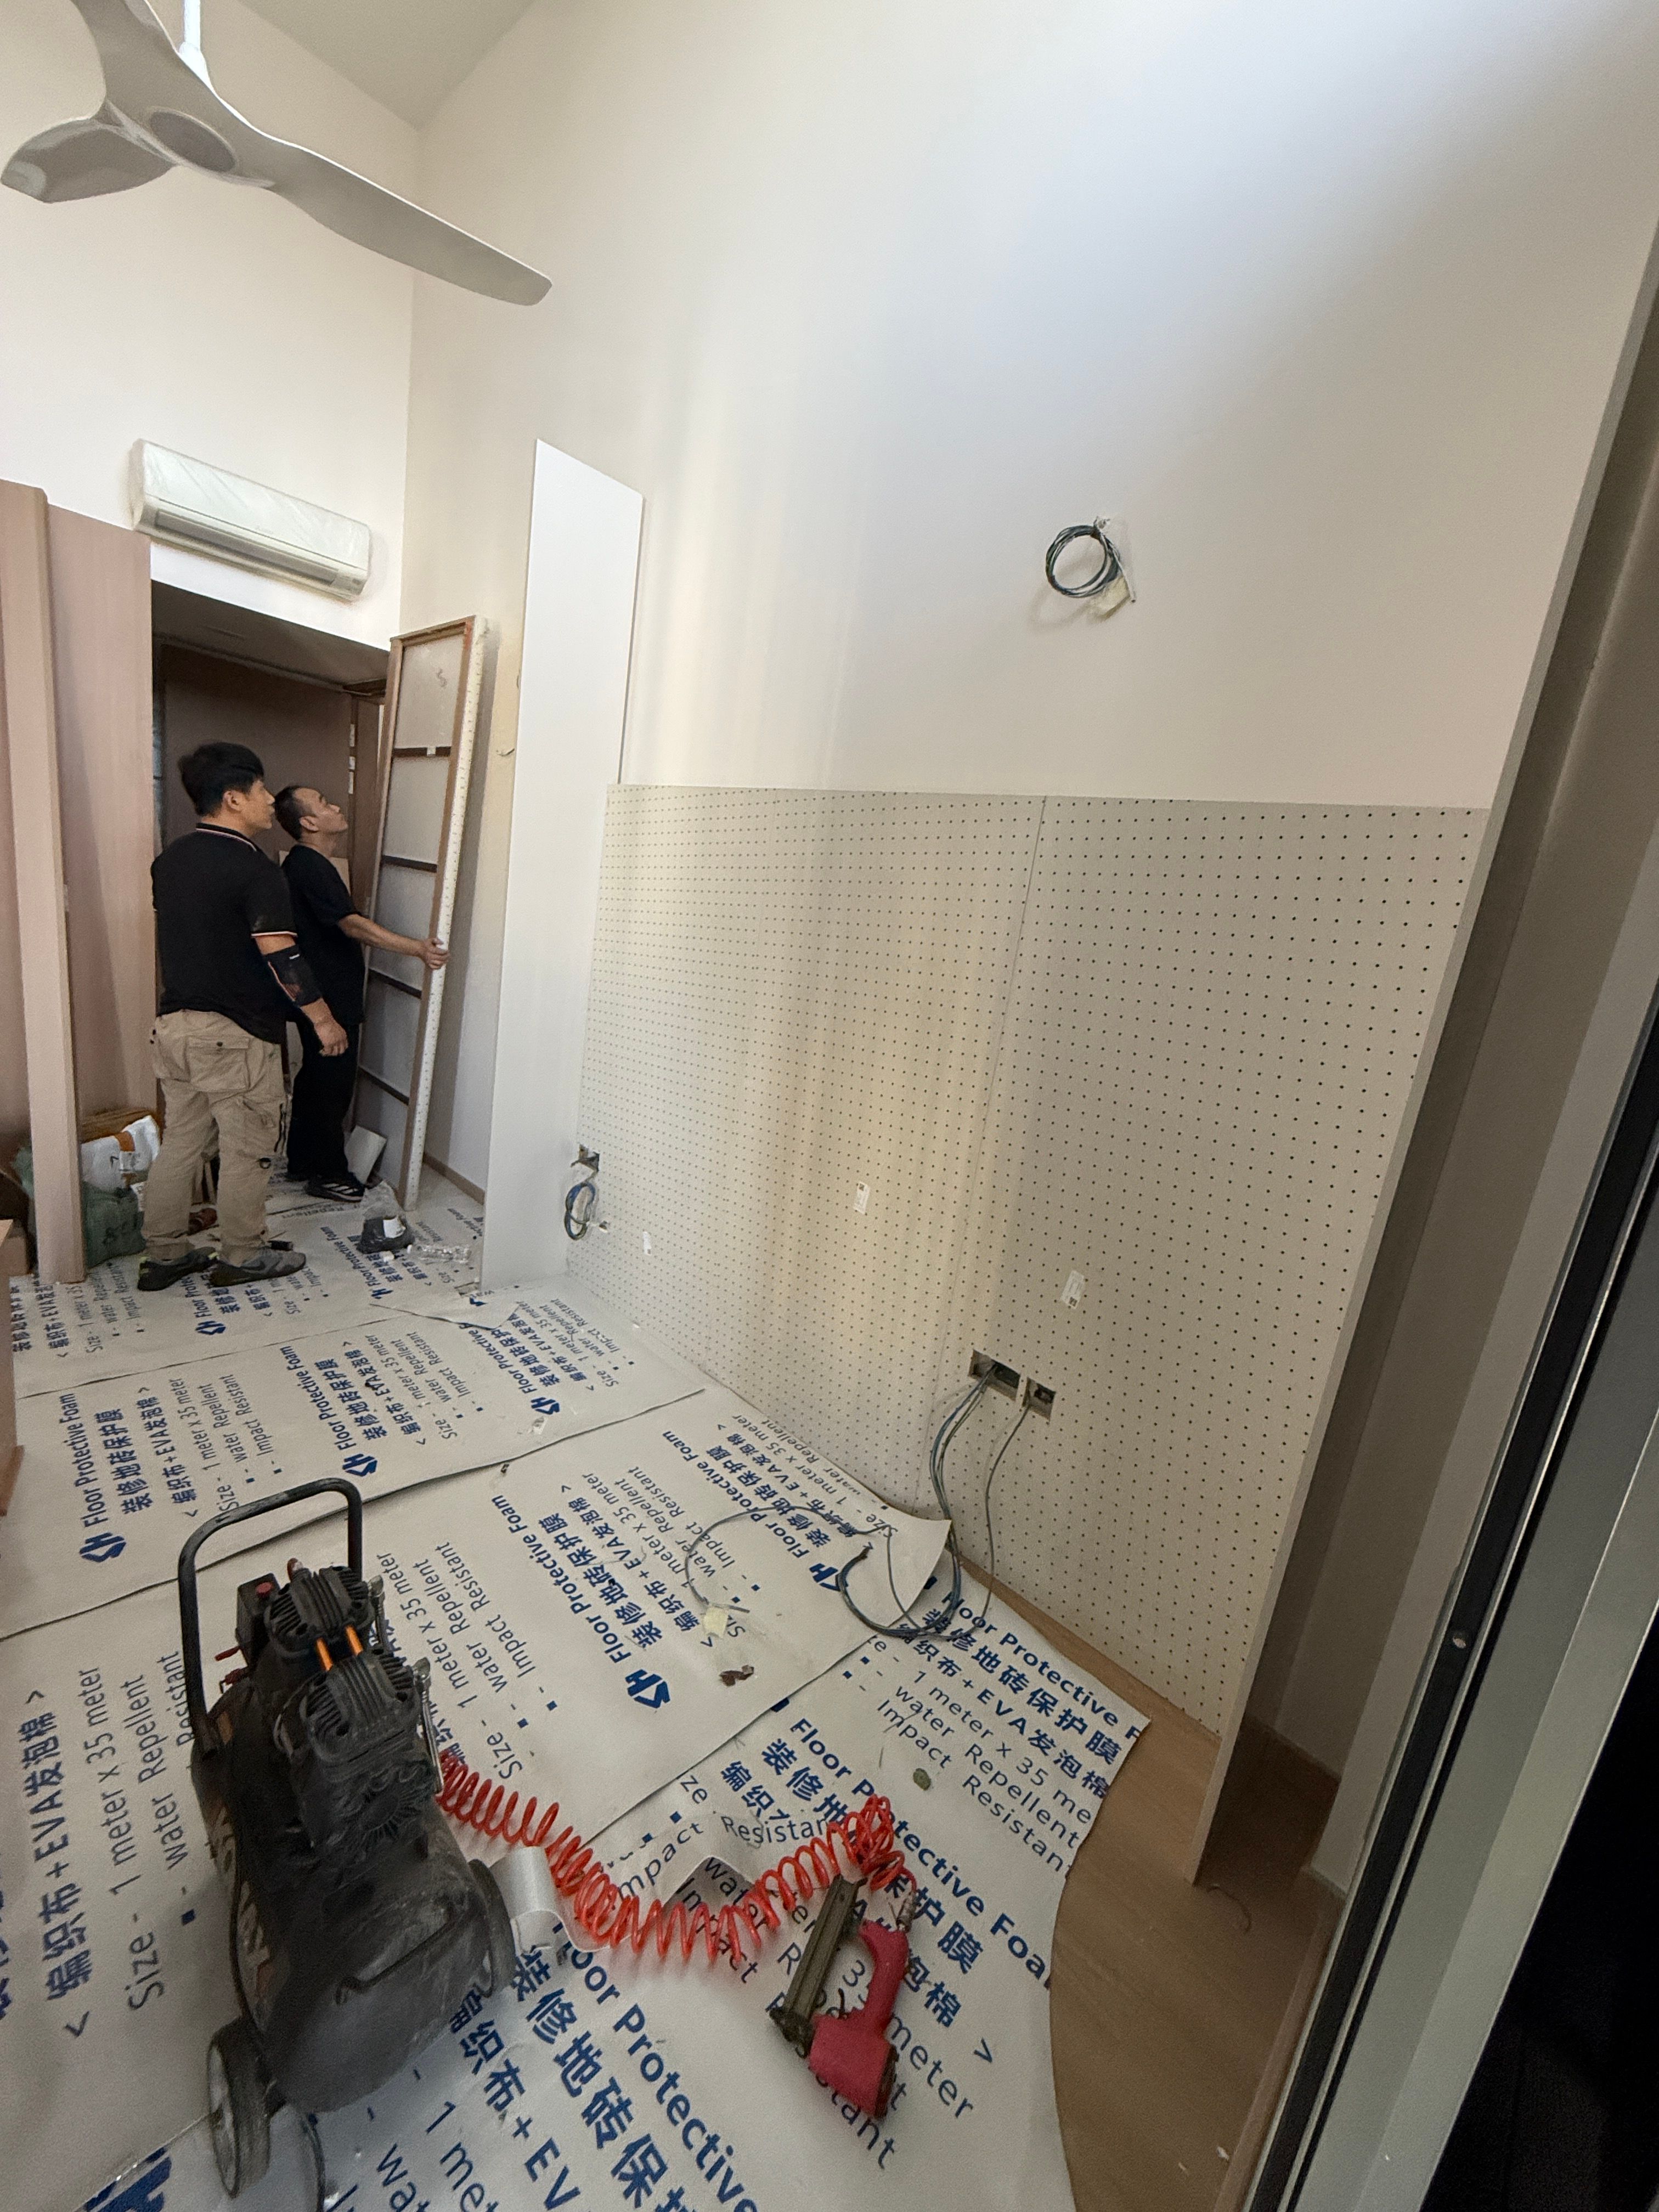
Study area still wrapped
In the study, the carpentry (or wall panel) is up, but the protective wrapping / packaging film is still on. The holes look a bit like a pegboard at a glance — they are not. That is just the wrap, not removed yet. Wires still poking out. Compressor and nail gun on the floor protection.
More later
End of day one: nothing is fully complete. A few areas are up in carcass form. That is all.
One miscommunication: the TV feature wall is incomplete — missing a light point for the LED driver. Yongjin Electrical is accommodating; they are coming the next day to add that point.
I will not go down that next day — work. I will update again later. Overall I am pretty pleased with the speed.
Full story hub is still the recent remodel.
Feel free to send over any questions.